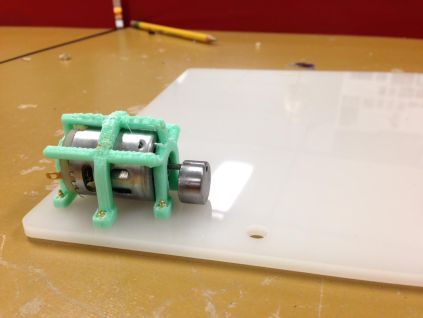
The cute lil adafruit motor (left) did hardly anything for vibrating an 11×14″ platform. I played around with adding an off axis weight to some DC motors without much luck, then ordered this big 12 volt vibration motor (just a 12 volt motor with an eccentric weight), which practically jumps out of my hand when I turn it on. I designed a bracket to couple it to a platform- the verdict: we have molecular motion! The weight is hitting the platform a bit, but even if I sand it down this sculpture is still going to be noisy as hell.. perhaps best for public, crowded spaces.
Often in textbooks proteins and molecules are rendered in a way which makes them look made of colorful plastic. Would love to do an installation of some kids room with instead of toys, hundreds of 3D printed proteins in numerous colors, strewn about floor in a complete mess. The problem with plastic appearance is that it’s hard and static- ideally proteins would be represented in a wobbly material. Anyway, I wanted to put my flesh colored filament to good use so I printed some biological stuff, all models via 3dprint.nih.gov
^I love the way the flesh filament looks as your peeling away support material..
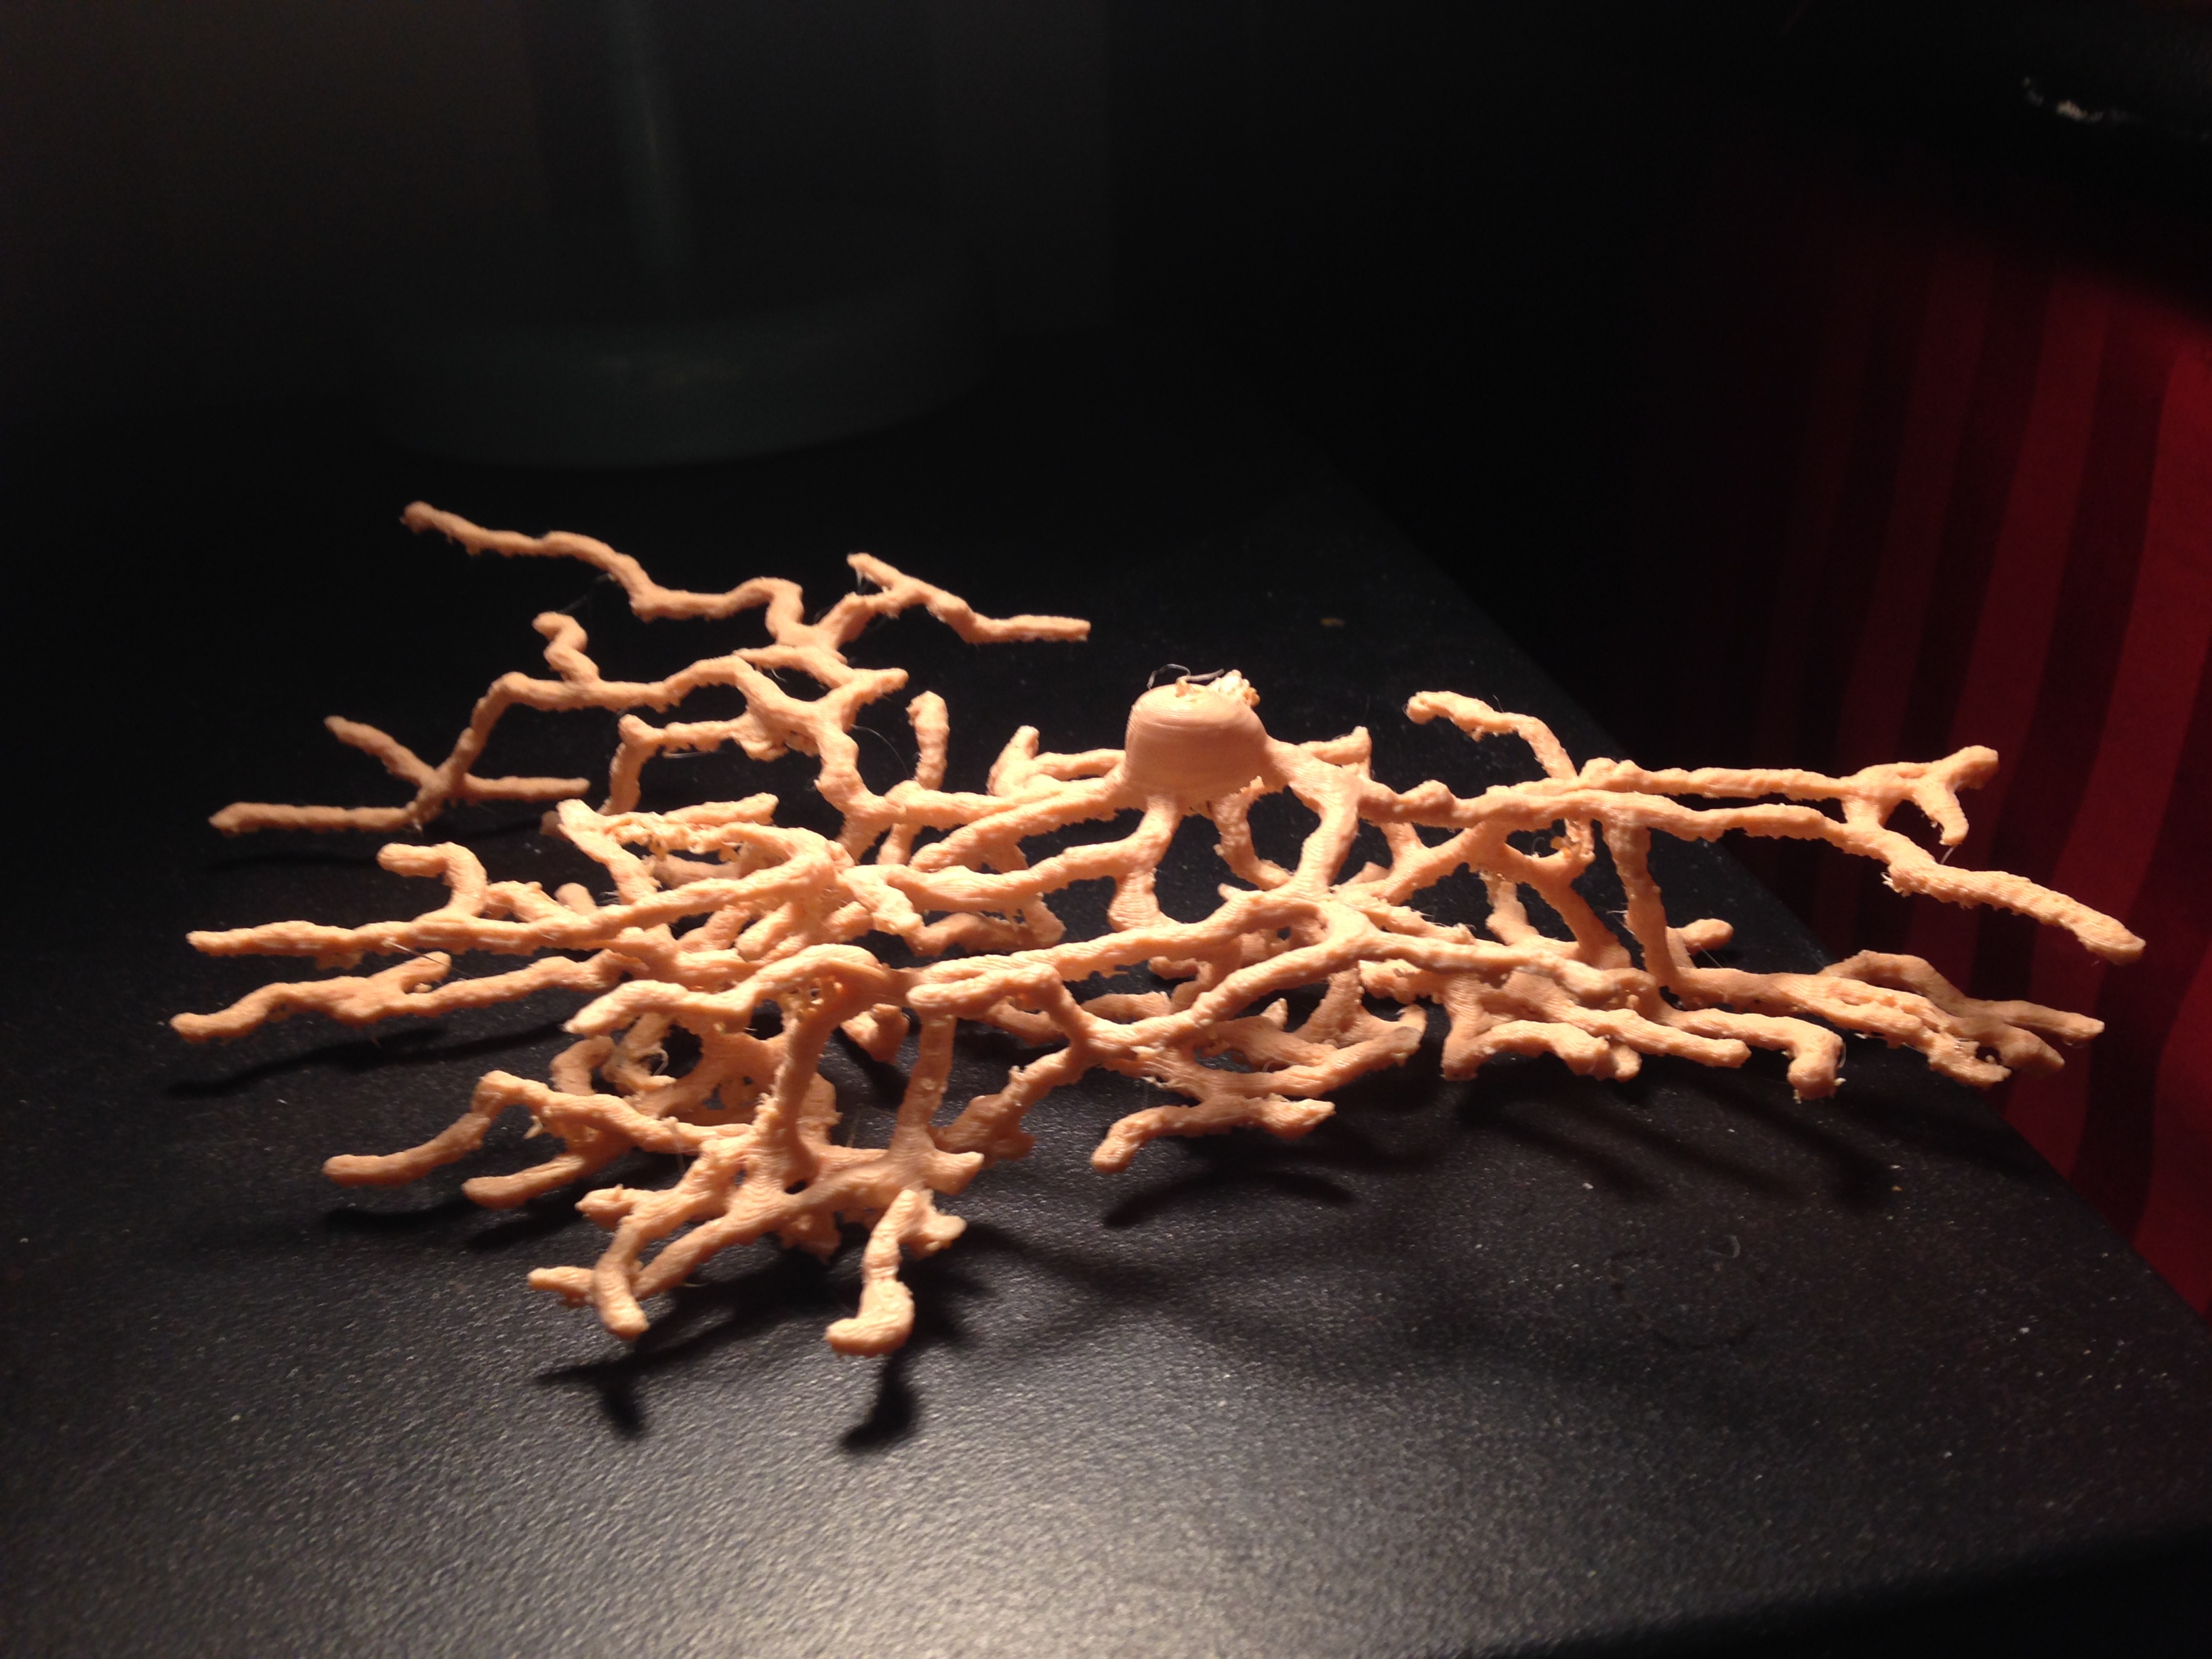
^mouse retina neuron from NIH 3dprint, data by eyewire.org
Some nuclear pores. Below: nuclear pores on an SEM image I took, 100,000x magnification.
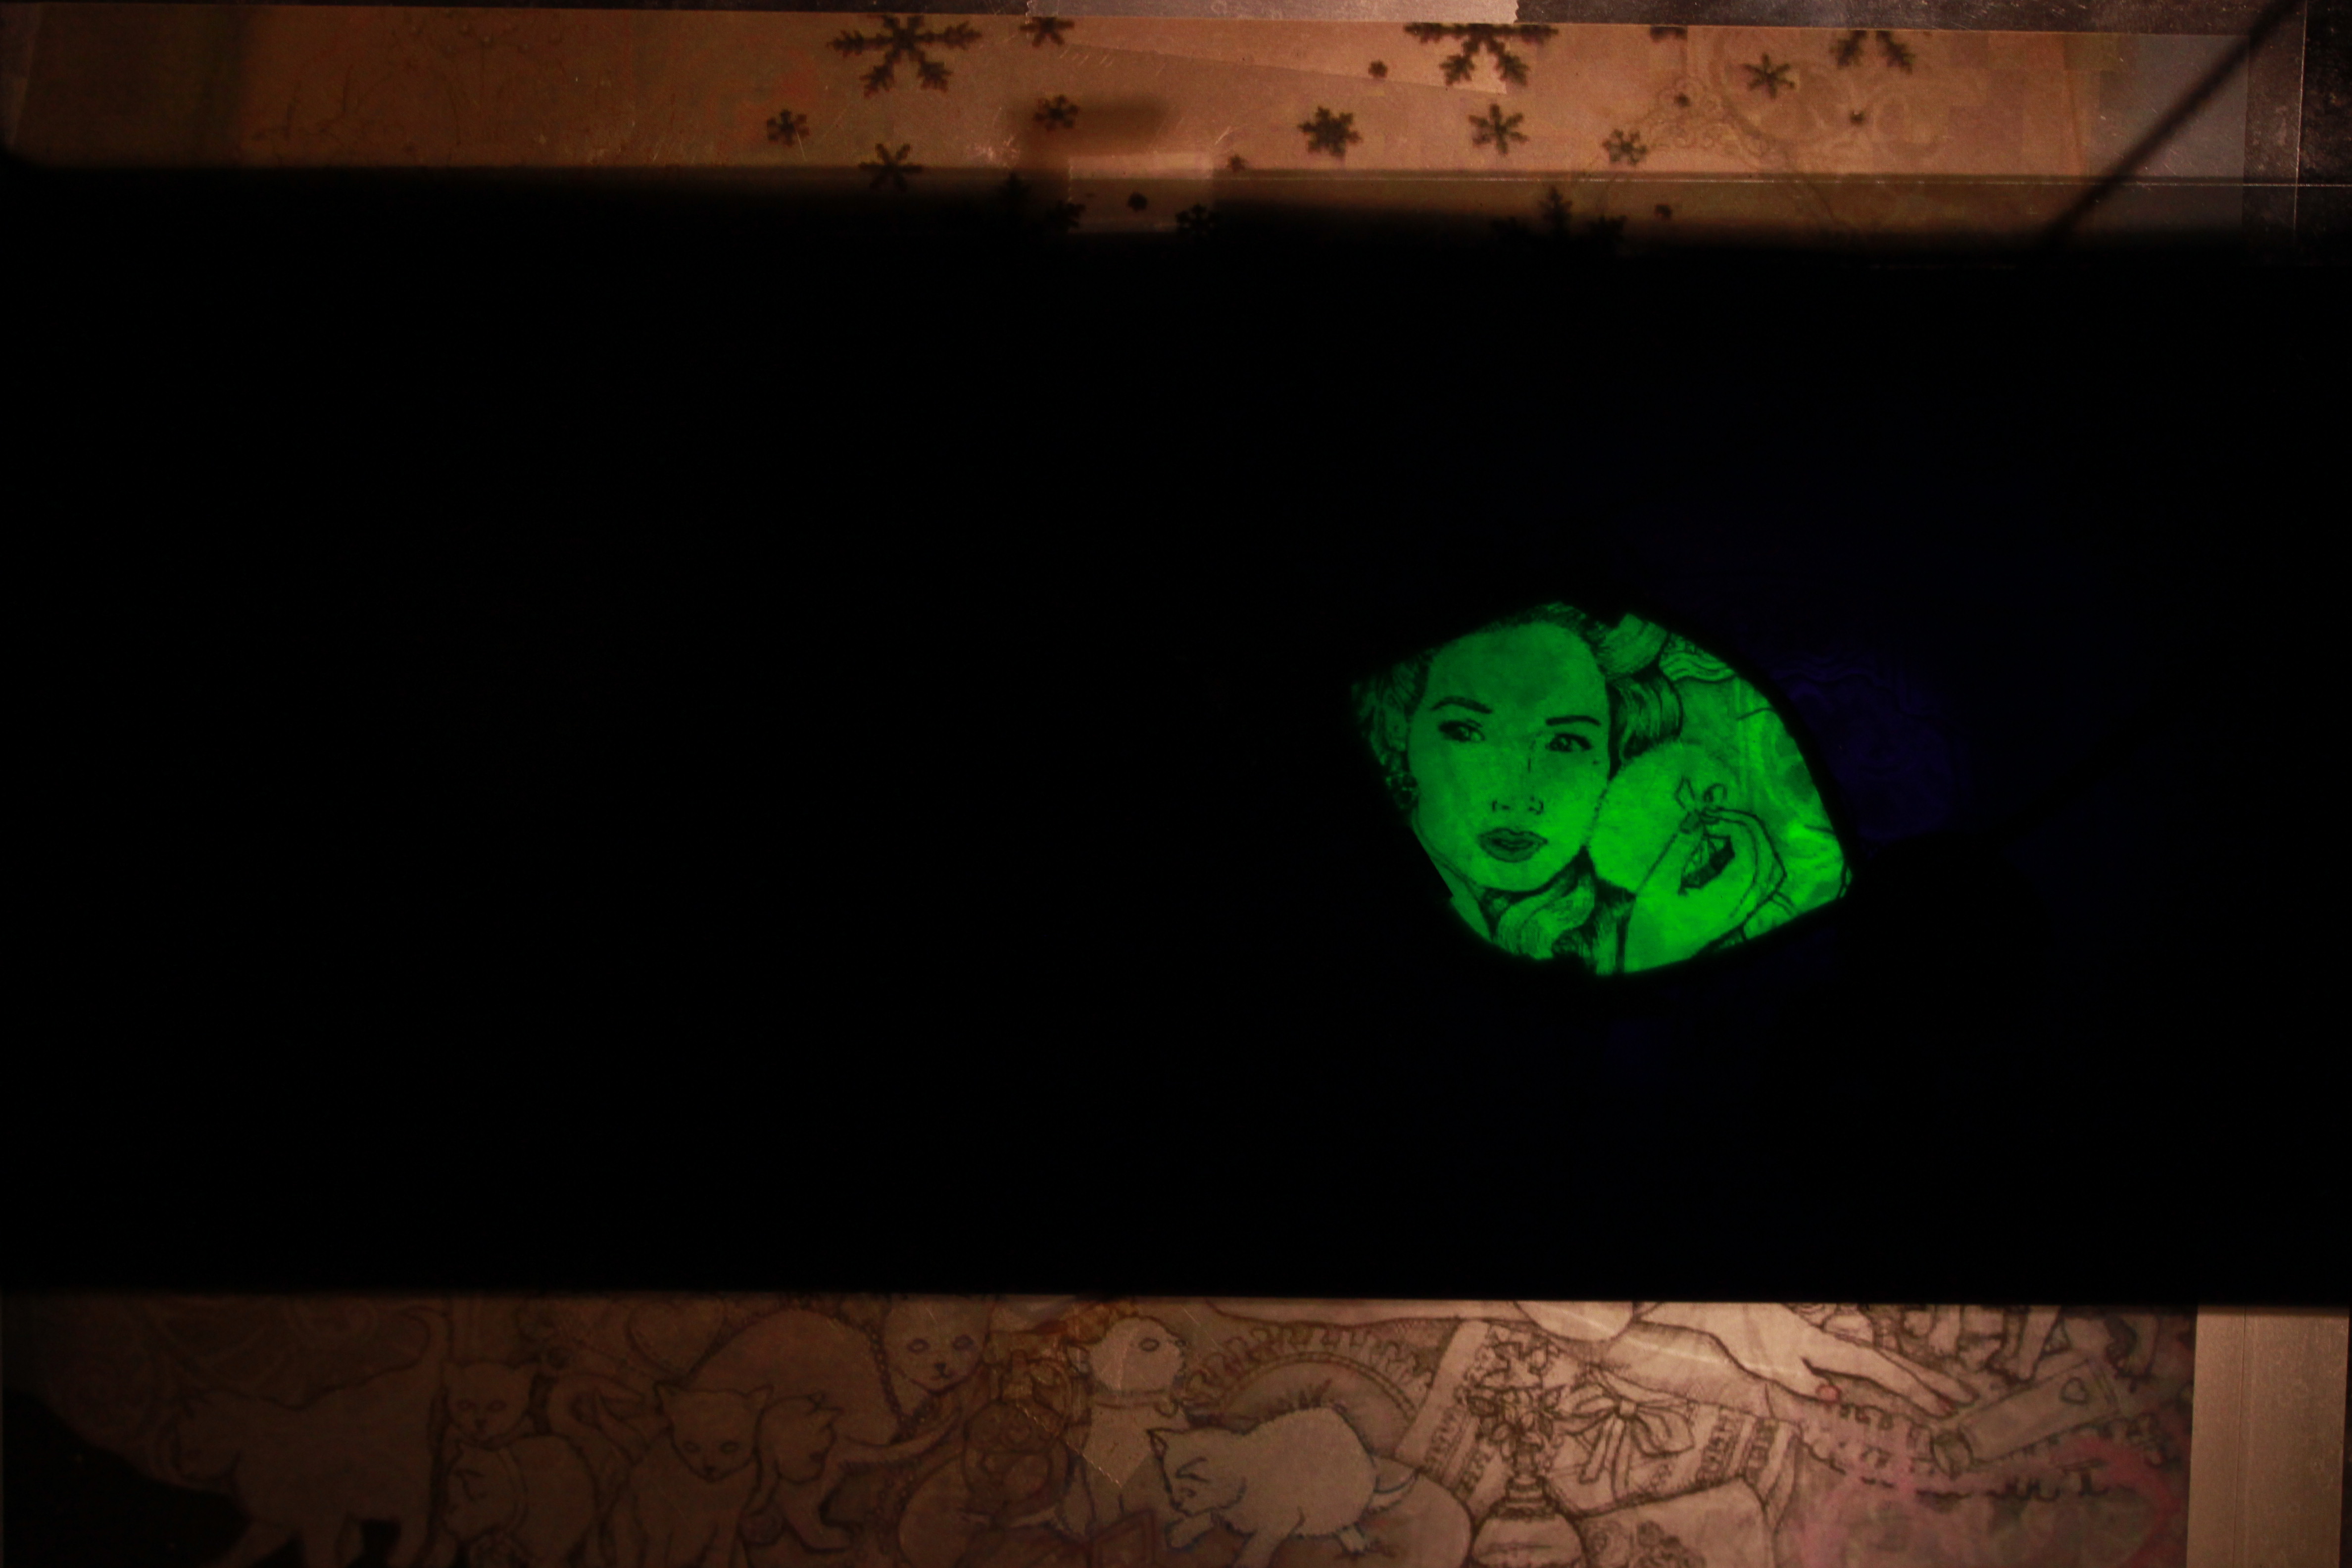
^GFP and clathrin cage. GFP i can never get to print well- need dissolvable support. Clathrin is a protein which assembles into cages around vesicles forming at the cell membrane, helps with getting things where they need to go in the cell. Below: scanning electron micrograph of clathrin cage. SEM processing adds 2nm of gold to the surface which can dull the details of very very small things. The image below is starting to get to the limit of that microscope- 200,000x magnification (each tick mark is 20nm).
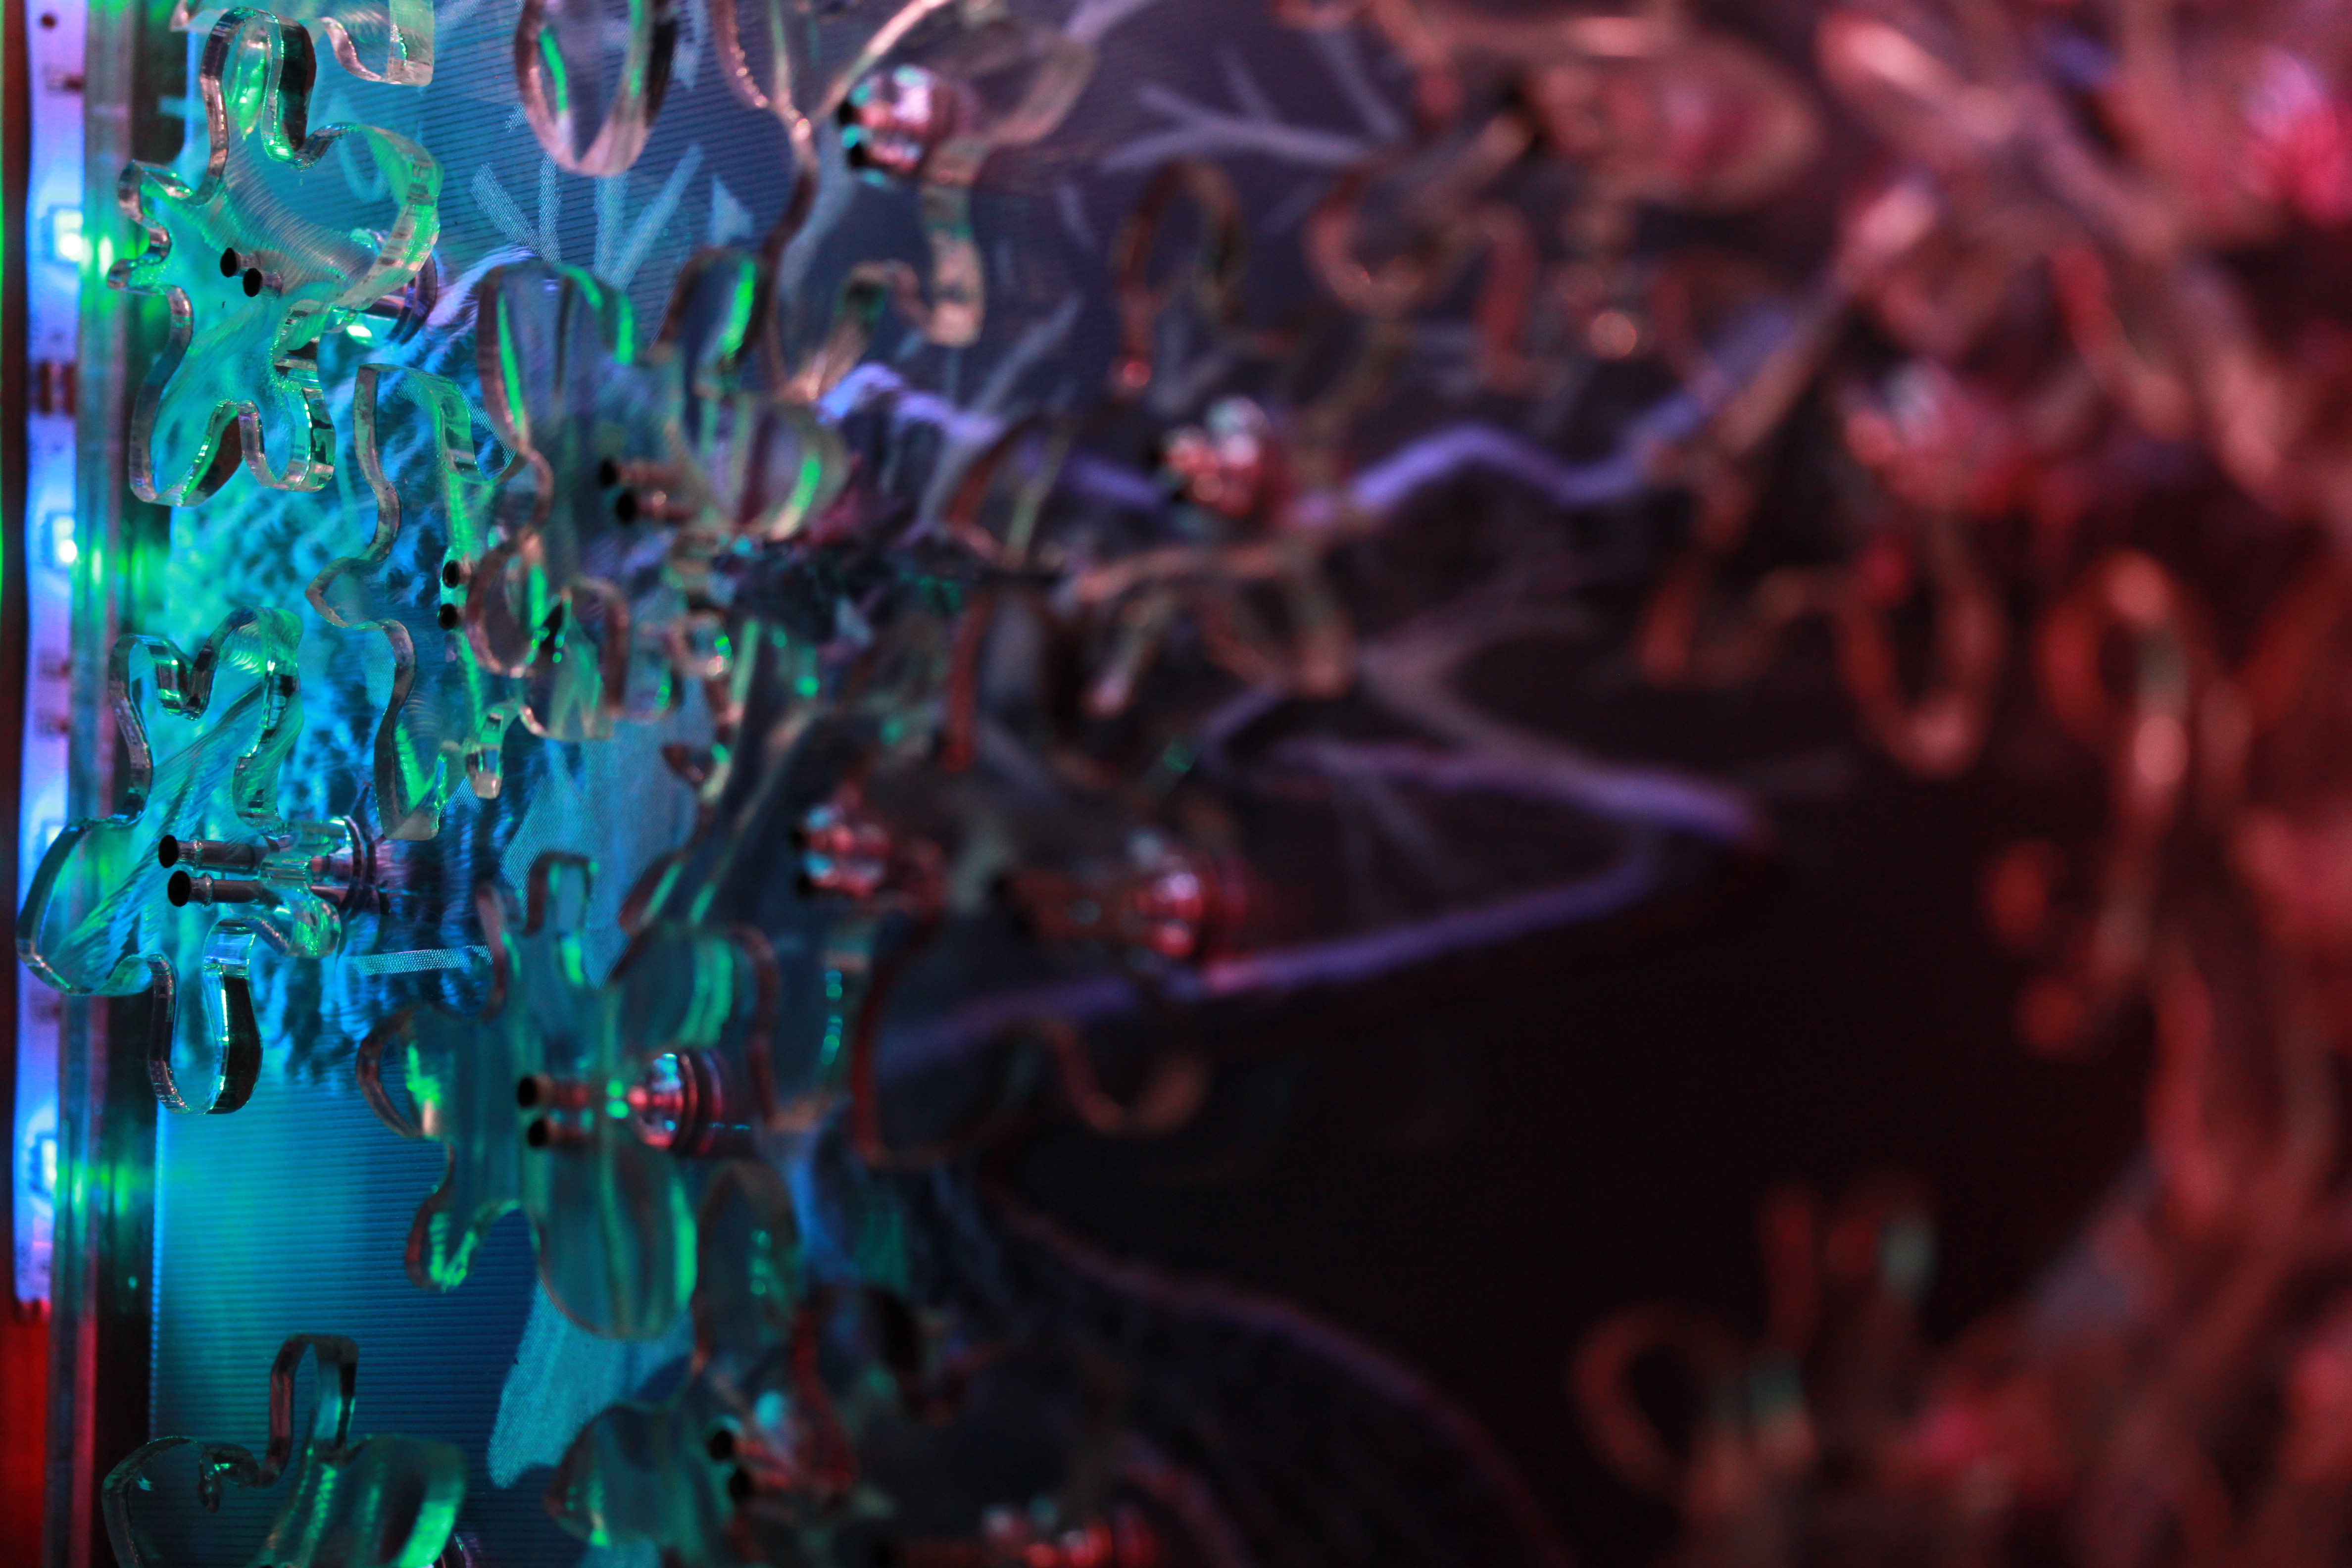
Laser cutting protein cutouts out of acrylic fresnel lenses has proved less then ideal- the proteins are a bit small and also caused a lot of scorch marks which cloud the transparency. Would need to make the proteins much bigger to work in acrylic. On the upside, the thin pvc lenses are much less hard to cut w/ scissors then I remember.
But at least there are awesome stickers:
I could also put the protein stickers on polarizing film instead. Doing so could create some neat effects as they occlude each other (imagine the below pic but with hundreds). Only downside is that polarizers make things dimmer.
I found acrylic fresnel lenses which means I can laser cut them! Typical floppy magnifying sheets are pvc thus toxic to laser cut. However the acrylic lenses are a bit thick (1/16″) and the ridges are bigger- they work best with larger shapes, detail gets lost easily with the ridges.
We used transfer tape to minimize stray reflections.
I’m going to be posting more ideas and experiments in the fabrication/sculpture realm here, as it may contribute to my work in this class, though they may not directly have anything electronic (but maybe later). It’s my first term in the DCRL and I’m in constant discovery mode.
For now: my first project: (different then a week ago) cytoplasm lamp! (or cytoplasm interactive sculpture)
I am quite interested in how crazy crowded the cytoplasm of a cell is vs. how it is usually shown:
^saddest looking cell ever btw VS
^This one doesn’t even show water.
How we depict things in science can really change how we learn about them (and dream about them).
I took a scanning electron micrograph a while back in which I accidentally kicked off a piece of the top of a cell, revealing a dense cytoplasm. The proteins are not tagged so you cannot tell them apart, but it gives a ‘window into the cell'(the title :P). Much lower mag then the above pic, though:
The crowded complex nature of of the cytoplasm is important, obviously (though rarely depicted for simplicity). Also- there’s something called ‘fractal diffusion’ which was one of my fave concepts from biophysics course. Anyway, below is a protein folding example of why we need more education in this area (!! 🙂 )
And some more image inspiration:
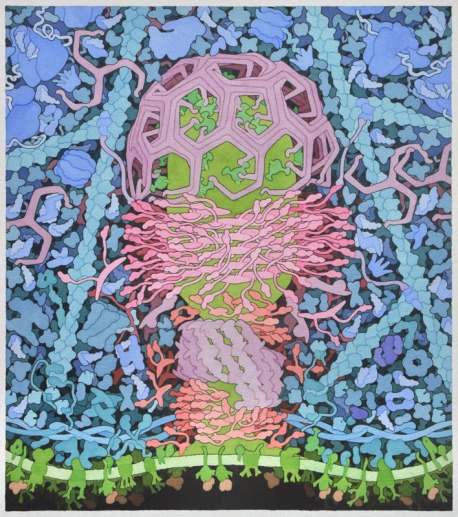
^David Goodsell is AMAZING
So for my lamp/sculpture I will make transparent stickers via the protein data bank (http://www.rcsb.org/pdb/) and adhere them to fresnel lens cuttouts. And make a few hundred, and put them on a vibrating translucent table, with white and UV light capability below (for fluorescent proteins!). The 2d proteins will hopefully overlap a few layers thick and still be able to move, hopefully, as this would create a neat optical effect. If they don’t move well, I could make a much sparser version with multiple vibrating levels. This is sounding more appealing since Pete showed me this:
Love the way they move! There like lil molecules, albeit sparse/slow.
I’ll conclude with more David Goodsell bliss (these are watercolors…):
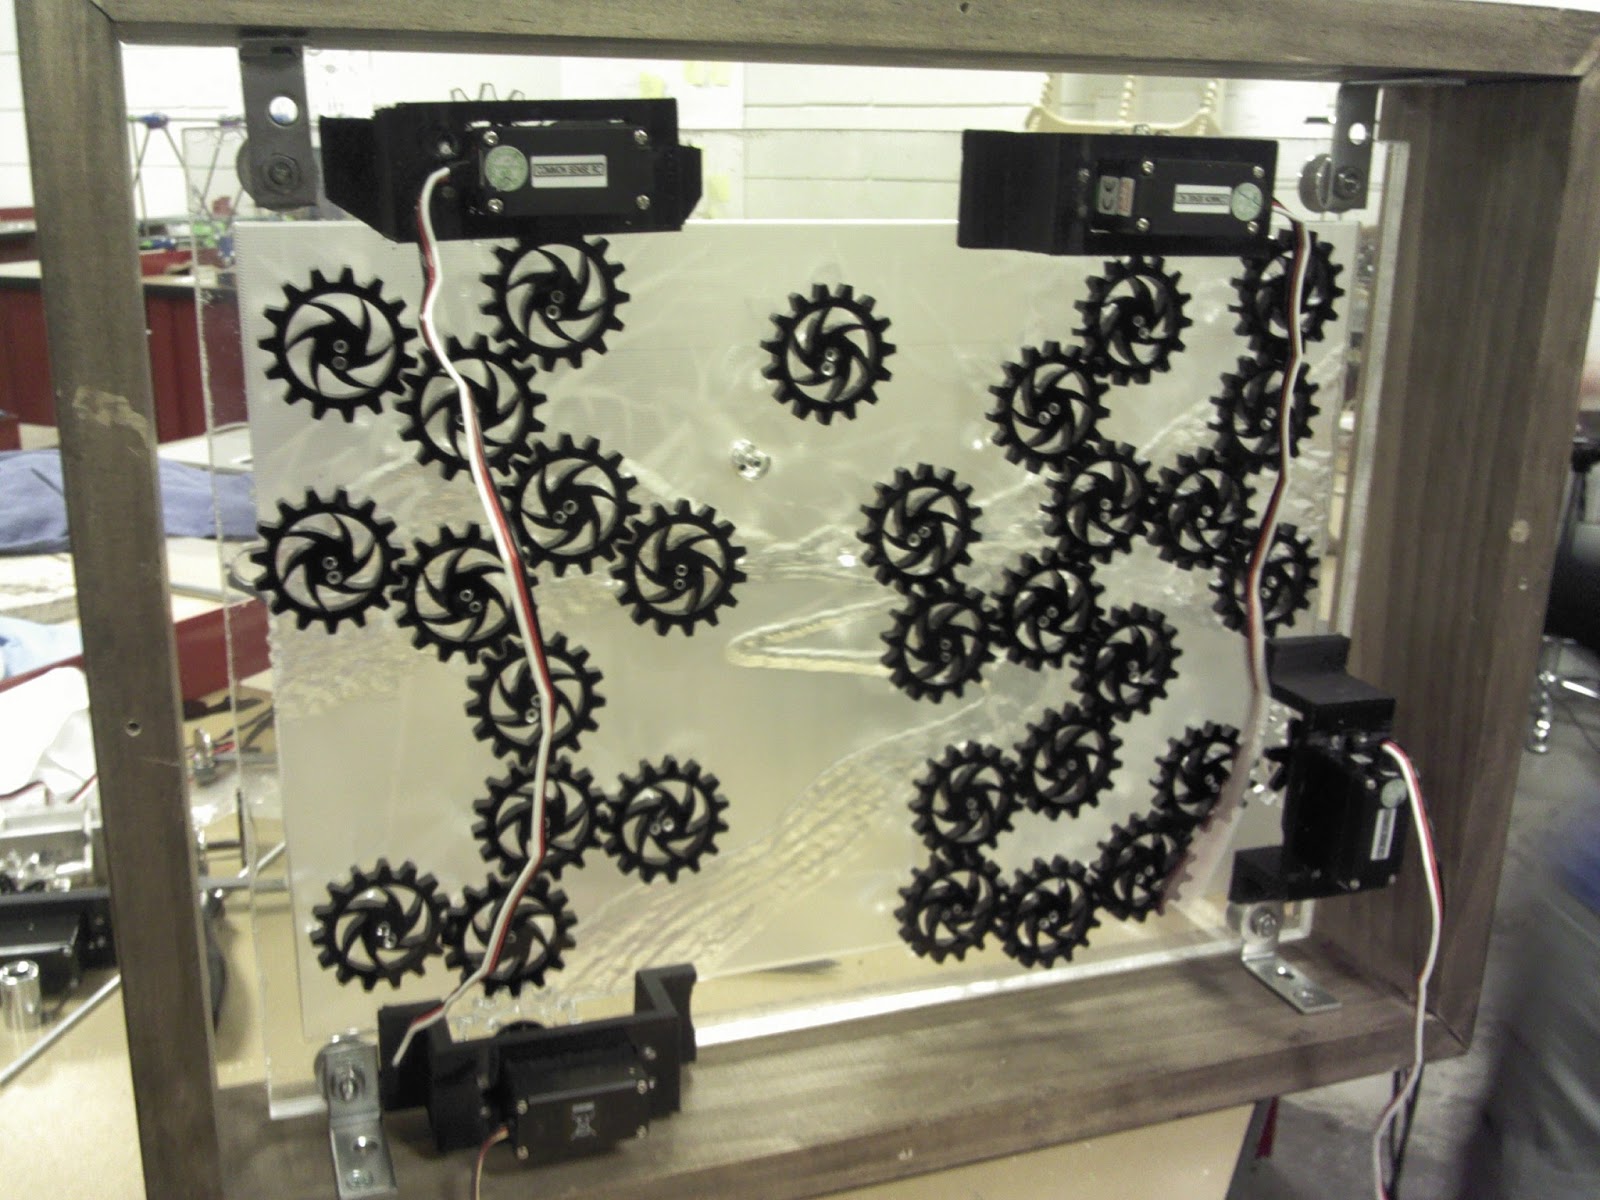
We mounted 4 servos in back to drive the 2 gear trains. (This video shows our servo brackets being 3d printed- most of the components in this piece were fabricated in-house by Emily)
It took quite a bit of work to get both trains moving- in the end we had to remove a few sticky gears. But after installing LEDs this sacrifice was hardly noticeable…
A little late in the game and not so pretty, but below shows the proof of concept for my midterm:
This is the schematic:
Polarizer 1 and 3 are at 90 degrees to each other. A small colored polarizer (#2, the green object in the video- lime shape very unintentional..) is mobile, creating a moveable ‘window’ (see this post):
2 continuous rotation servos control the x-y position of the ‘window’ while a 3rd servo adjusts the angle. While I couldn’t get the angle adjustment to work, here is an example of what I was going for:
The goal was to create a piece where changing the position of the ‘window’ (via joystick, motion tracking,etc) also causes some change in the angle, potentially dimming or blocking the light- if the viewer tries to compensate by directly adjusting the angle- the position of the window changes- and so forth- creating an elusive system.
In thinking about how to animate our sculpture, I came across some nice light sculpture to share:
I am often drawn to interactive work which is erratic and overwhelming, perhaps ugly at times. To create a more fluid piece I am finding inspiration in music such as by Steve Reich- multiple cycles, going in and out of phase with each other…

 The cute lil adafruit motor (left) did hardly anything for vibrating an 11×14″ platform. I played around with adding an off axis weight to some DC motors without much luck, then ordered this big 12 volt vibration motor (just a 12 volt motor with an eccentric weight), which practically jumps out of my hand when I turn it on. I designed a bracket to couple it to a platform- the verdict: we have molecular motion! The weight is hitting the platform a bit, but even if I sand it down this sculpture is still going to be noisy as hell.. perhaps best for public, crowded spaces.